Molmass は分子式を与えるとその精密質量を返してくれる Python のウェブアプリです。安定同位体標識されている内標準物質についても精密質量を計算してくれるので、測定メソッドや定量メソッドを作るときに重宝していました。新しい Mac に移行したとき環境も何かと変わったため、何やらこれまで通りには動かなくなっていました。
再度、molmass をインストールしようとすると
% python3 -m pip install -U molmass
error: externally-managed-environment

× This environment is externally managed
╰─> To install Python packages system-wide, try brew install
    xyz, where xyz is the package you are trying to
    install.

    If you wish to install a Python library that isn't in Homebrew,
    use a virtual environment:

    python3 -m venv path/to/venv
    source path/to/venv/bin/activate
    python3 -m pip install xyz

    If you wish to install a Python application that isn't in Homebrew,
    it may be easiest to use 'pipx install xyz', which will manage a
    virtual environment for you. You can install pipx with

    brew install pipx

    You may restore the old behavior of pip by passing
    the '--break-system-packages' flag to pip, or by adding
    'break-system-packages = true' to your pip.conf file. The latter
    will permanently disable this error.

    If you disable this error, we STRONGLY recommend that you additionally
    pass the '--user' flag to pip, or set 'user = true' in your pip.conf
    file. Failure to do this can result in a broken Homebrew installation.

    Read more about this behavior here: <https://peps.python.org/pep-0668/>

note: If you believe this is a mistake, please contact your Python installation or OS distribution provider. You can override this, at the risk of breaking your Python installation or OS, by passing --break-system-packages.
hint: See PEP 668 for the detailed specification.
むむ。今は Homebrew で Python をインストールしていますが、Homebrew にない Python ライブラリを使うときは仮想環境を仕え、ということ?
どうやら、インストールしたライブラリの依存関係やインストール先が混乱してしまうので、特定のライブラリを実行するための仮想環境を作ることを推奨するようになっているようです。まあ、–break-system-packages オプションを使えばこれまでのようにインストールできるようですけどね。確かに、以前入れていた Molmass ライブラリは /Library/Frameworks/Python.framework に直接入っていたようですし。
というわけで、今回は molmass という仮想環境を作り、そこにインストールします。
% mkdir molmass
% cd ./molmass
% python3 -m venv --system-site-packages --clear --prompt 'molmass' \
--upgrade-deps $(pwd)/.venv
これで molmass フォルダ内に仮想環境ができます。この中身を覗くと
% ls .venv/bin/
Activate.ps1 activate.csh pip pip3.12 python3
activate activate.fish pip3 python python3.12
pip3 や python3 がいますね。python3 などはシンボリックリンクです。仮想環境を始めるには activate します。では改めてここに Molmass をインストール。
% source .venv/bin/activate
(molmass) % pip install -U molmass
Collecting molmass
Downloading molmass-2024.5.10-py3-none-any.whl.metadata (7.0 kB)
Downloading molmass-2024.5.10-py3-none-any.whl (75 kB)
━━━━━━━━━━━━━━━━━━━━━━━━━━━━━━━━━━━━━━━━ 75.2/75.2 kB 6.0 MB/s eta 0:00:00
Installing collected packages: molmass
Successfully installed molmass-2024.5.10
molmass/.venv の中に Molmass がインストールされました。でも、ウェブアプリとして実行するには /.venv/lib/python3.12/site-packages/molmass の中に入っている web.py に実行権限をつけないといけないので
(molmass) % chmod +x web.pyとしておきます。これで molmass を起動します。
(molmass) % molmass --web
Running CGI script at http://127.0.0.1:5001/web.py
127.0.0.1 - - [12/May/2024 17:08:56] "GET /web.py HTTP/1.1" 200 -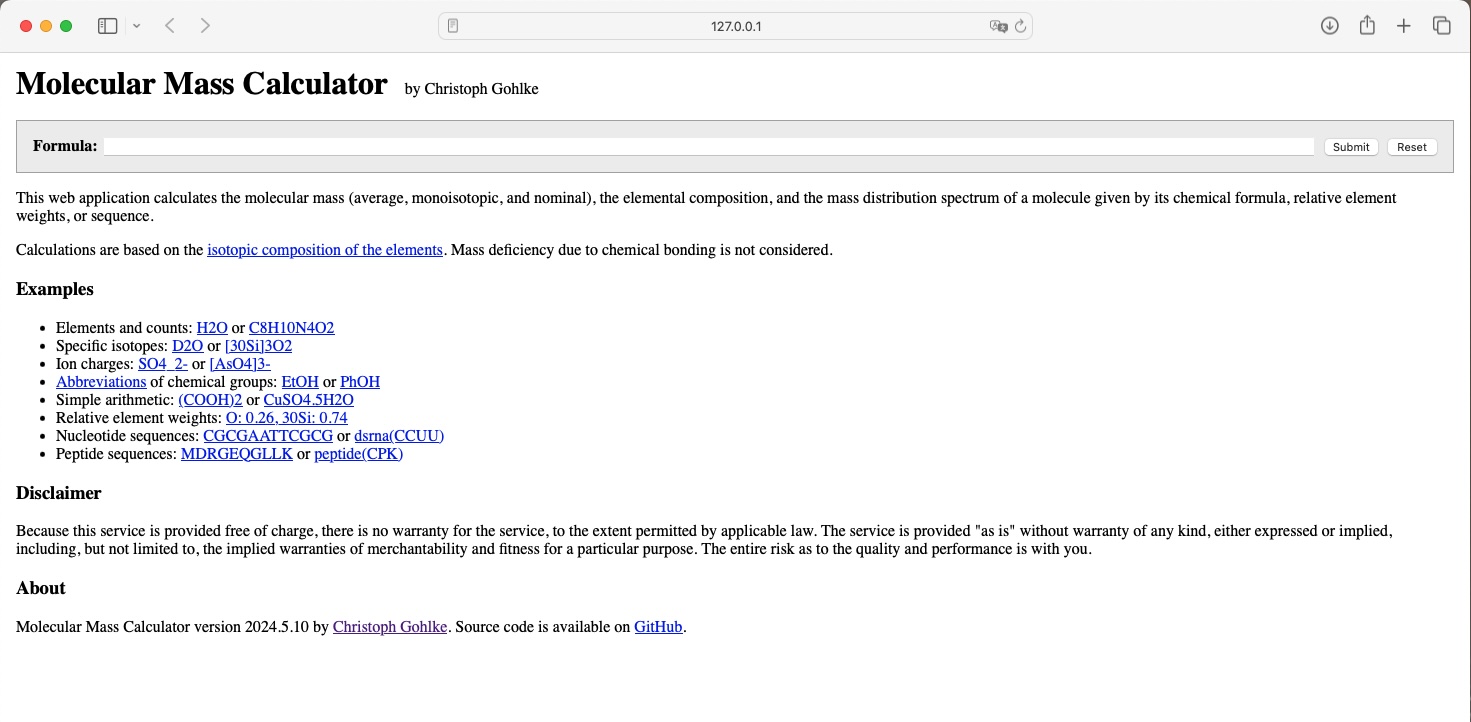
おお。起動しました。では、Diuron-d6 から生じる [M+H]+ の質量を計算してみましょう。C9H5D6Cl2N2O を入力します。
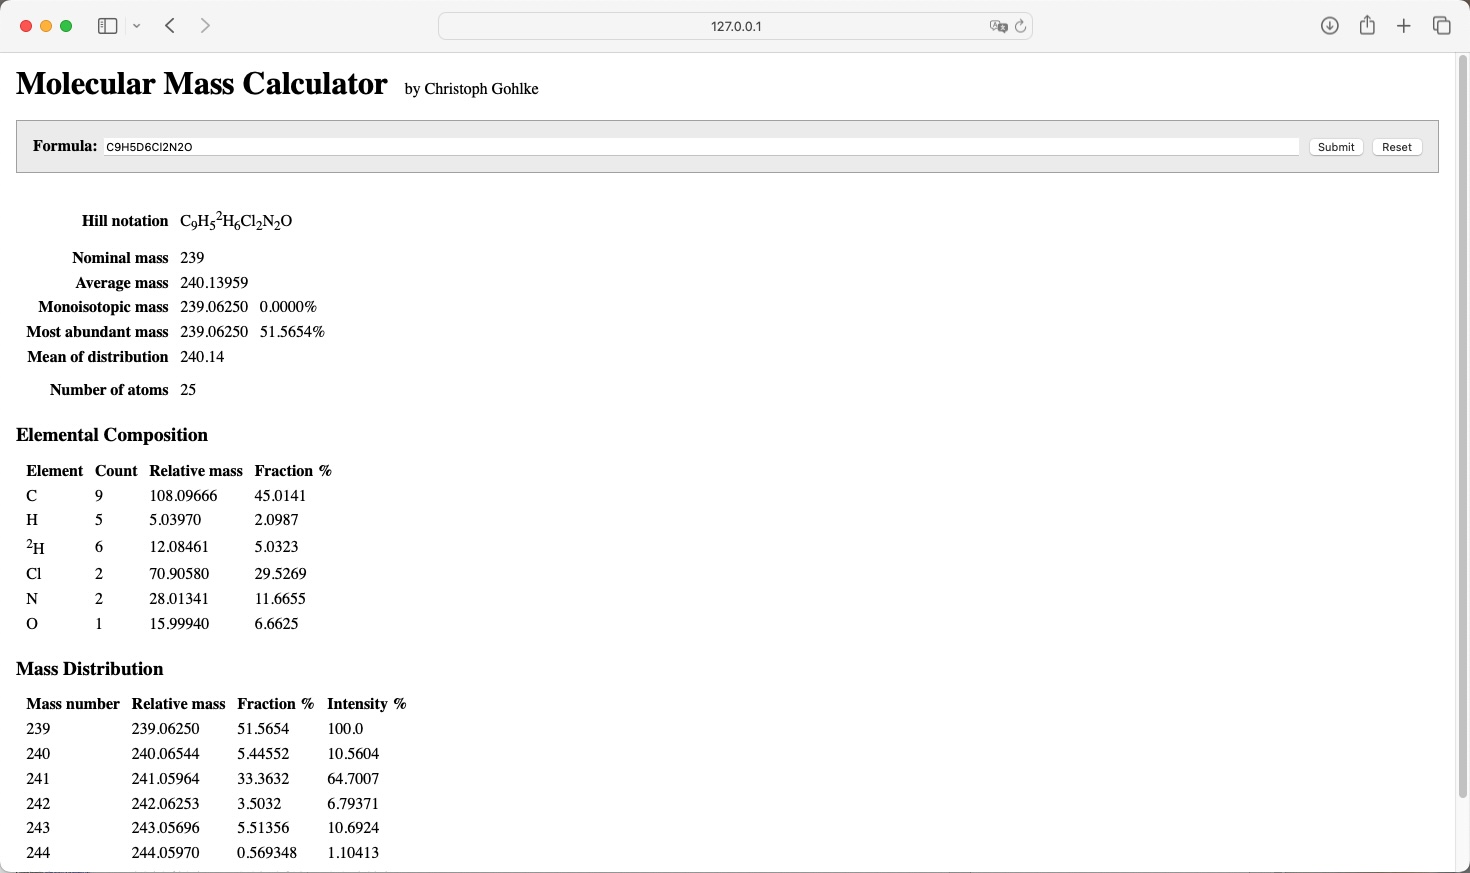
239.06250 が精密質量ということになります。実際は電子の質量を引いた 239.06195 を使用します。終わるときは
(molmass) % deactivateとすれば仮想環境が終了します。